Getting Started
Prerequisite
resticprofile is an automation tool for restic, also known as a wrapper.
In short, resticprofile provides a configuration file and a runner that generates all necessary calls to restic.
Unless you’re using the resticprofile Docker image, you need to have restic installed on your machine.
Choose Your Favorite Format
The resticprofile configuration file can be written in:
- TOML: configuration file with extension .toml or .conf
- YAML: configuration file with extension .yaml
- JSON: configuration file with extension .json
- HCL: configuration file with extension .hcl
We recommend using either TOML or YAML.
JSON is suitable for auto-generated configurations but is not the easiest format for humans to read and write.
HCL can be useful if you already use a tool from the Hashicorp stack; otherwise, it’s another format to learn.
Configure Your Text Editor
We’ll show you how to get documentation and auto-completion for the resticprofile configuration using Visual Studio Code.
You can use any other editor that recognizes the JSON schema. The same JSON schema can be used for JSON, TOML, and YAML file formats.
TOML
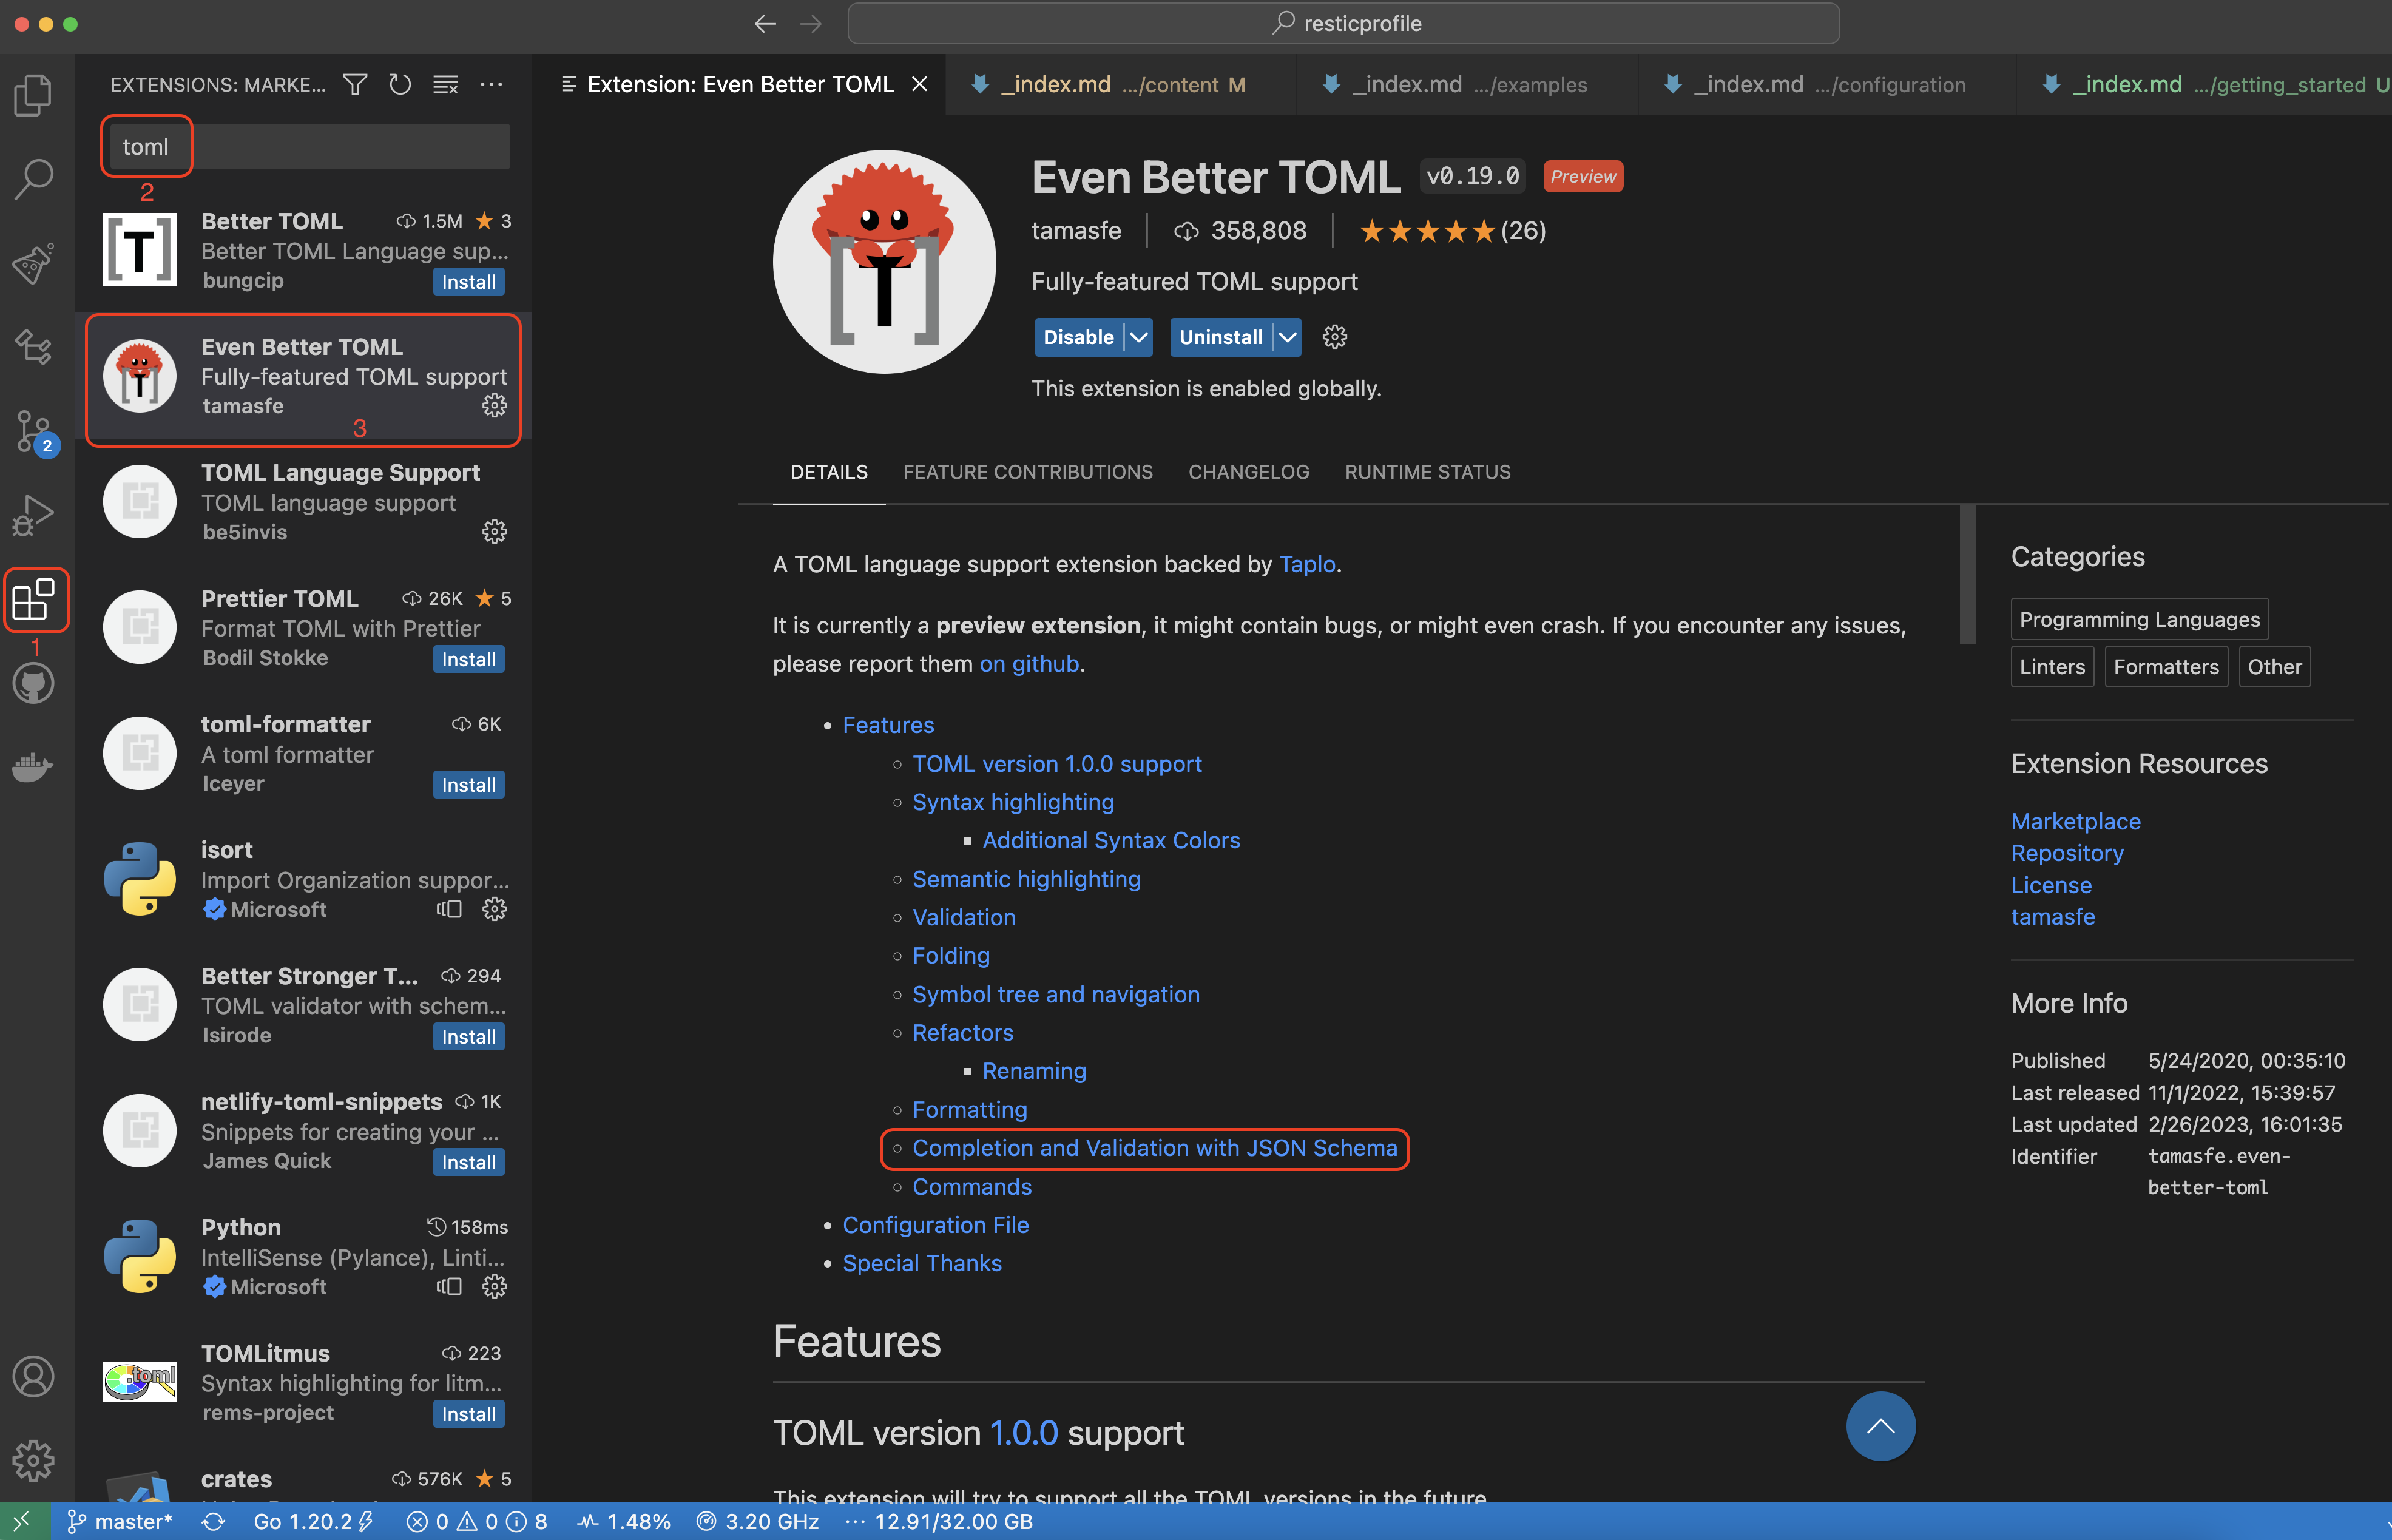
In Visual Studio Code, install an extension that supports completion and syntax validation using a JSON schema.
For example, install the Even Better TOML extension:
YAML
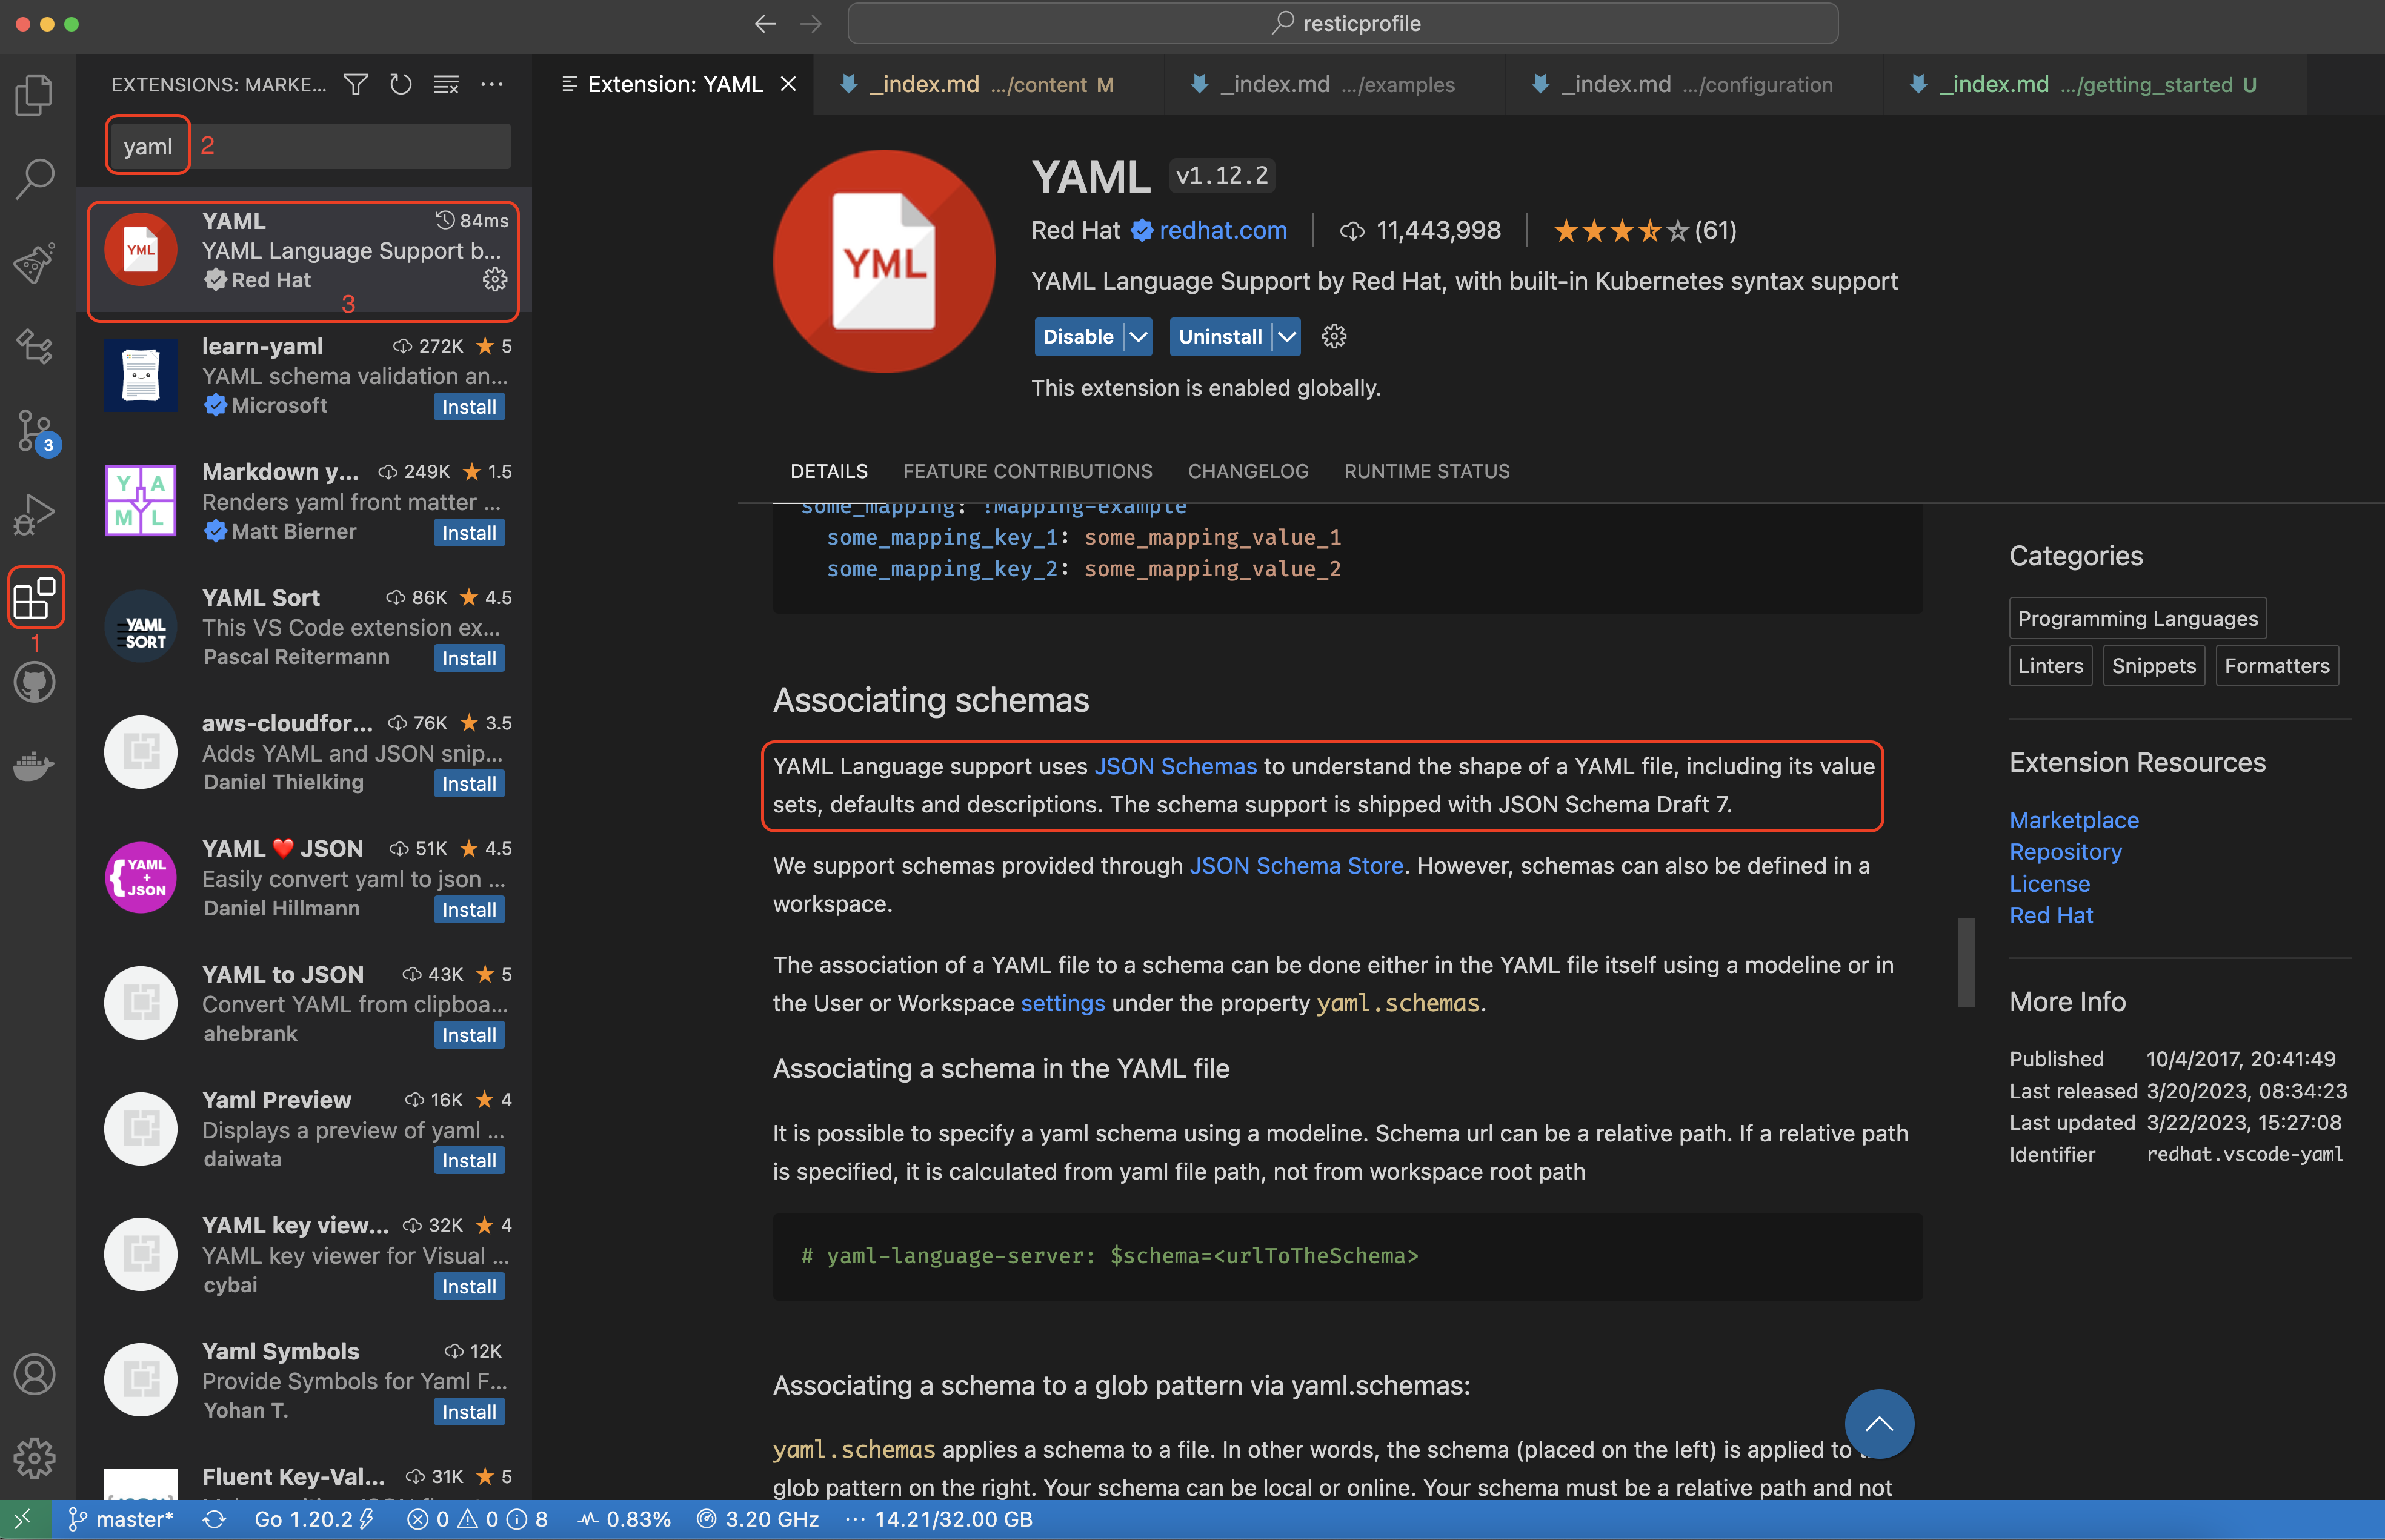
For YAML, install an extension like the one provided by Red Hat in Visual Studio Code to understand the shape of your configuration file.
Write your first configuration file
The configuration file lists profiles containing commands and flags.
A profile defines:
- a restic repository (
repositoryflag) - how to access your restic repository (e.g.,
password-file) - a list of commands (e.g.,
backup):- files to include in a backup (
sourceflag) - when to back them up (details later)
- other restic flags for the command line (e.g.,
verbose)
- files to include in a backup (
In this example, we’ll call our profile default. You don’t need to specify the profile name on the command line when using default.
Create a file named profiles with an extension of your choice (.toml, .yaml, .hcl, or .json).
#:schema https://creativeprojects.github.io/resticprofile/jsonschema/config-1.json
#
# indentation is not needed but it makes it easier to read ;)
#
version = "1"

[default]
  repository = "local:/backup"
  password-file = "password.txt"

  [default.backup]
    verbose = true
    source = [ "/home" ]
# yaml-language-server: $schema=https://creativeprojects.github.io/resticprofile/jsonschema/config.json
version: "1"
default:
repository: "local:/backup"
password-file: "password.txt"
backup:
verbose: true
source:
- "/home"default {
repository = "local:/backup"
password-file = "password.txt"
backup = {
verbose = true
source = [ "/home" ]
}
}{
"$schema": "https://creativeprojects.github.io/resticprofile/jsonschema/config.json",
"version": "1",
"default": {
"repository": "local:/backup",
"password-file": "password.txt",
"backup": {
"verbose": true,
"source": [
"/home"
]
}
}
}Generate a secure password
resticprofile can generate a secure password file for you:
resticprofile generate --random-key > password.txtInitialize your repository
With the password file, initialize your restic repository:
resticprofile initHere’s an example of the result:
2023/03/25 15:46:48 using configuration file: profiles.yaml
2023/03/25 15:46:48 profile 'default': starting 'init'
created restic repository e21ab75046 at local:/backup

Please note that knowledge of your password is required to access
the repository. Losing your password means that your data is
irrecoverably lost.
2023/03/25 15:46:51 profile 'default': finished 'init'
Test your first backup
Before going live, you can dry run your first backup by using the resticprofile --dry-run flag.
resticprofile --dry-run backupAnd here’s the result:
2023/03/25 15:49:51 using configuration file: profiles.yaml
2023/03/25 15:49:51 profile 'default': starting 'backup'
2023/03/25 15:49:51 dry-run: /usr/local/bin/restic backup --password-file password.txt --repo local:/backup --verbose /home
2023/03/25 15:49:51 profile 'default': finished 'backup'
As you can see, resticprofile converted your backup profile into this command line:
/usr/local/bin/restic backup --password-file password.txt --repo local:/backup --verbose /homeFlags
Let’s stop a moment and analyse the command line: we passed the flag --dry-run before the command backup: it means the flag is used by resticprofile.
Let’s try again with the flag after the command:
resticprofile backup --dry-runAnd the result is rather different:
2023/03/25 15:50:02 using configuration file: profiles.yaml
2023/03/25 15:50:02 profile 'default': starting 'backup'
open repository
repository e22aa770 opened (version 2, compression level auto)
created new cache in /Users/CP/Library/Caches/restic
lock repository
no parent snapshot found, will read all files
load index files
start scan on [/home]
start backup on [/home]
scan finished in 0.202s: 0 files, 0 B

Files:           0 new,     0 changed,     0 unmodified
Dirs:            0 new,     0 changed,     0 unmodified
Data Blobs:      0 new
Tree Blobs:      1 new
Would add to the repository: 346 B (292 B stored)

processed 0 files, 0 B in 0:00
2023/03/25 15:50:03 profile 'default': finished 'backup'
If you add flags after the command, the flags will be sent to restic instead. As you can see, restic simulated a backup of your /home folder.
Schedule
Let’s imagine you want to backup your files every day during your lunch break.
Add a line in your configuration (in the default -> backup section) with an option called schedule and a value of 12:30. Your configuration should now look like:
#:schema https://creativeprojects.github.io/resticprofile/jsonschema/config-1.json
#
# indentation is not needed but it makes it easier to read ;)
#
version = "1"

[default]
  repository = "local:/backup"
  password-file = "password.txt"

  [default.backup]
    verbose = true
    source = [ "/home" ]
    schedule = "12:30"
# yaml-language-server: $schema=https://creativeprojects.github.io/resticprofile/jsonschema/config.json
version: "1"
default:
repository: "local:/backup"
password-file: "password.txt"
backup:
verbose: true
source:
- "/home"
schedule: "12:30"default {
repository = "local:/backup"
password-file = "password.txt"
backup = {
verbose = true
source = [ "/home" ]
schedule = "12:30"
}
}{
"$schema": "https://creativeprojects.github.io/resticprofile/jsonschema/config.json",
"version": "1",
"default": {
"repository": "local:/backup",
"password-file": "password.txt",
"backup": {
"verbose": true,
"source": [
"/home"
],
"schedule": "12:30"
}
}
}resticprofile can schedule work on macOS, Windows, most Unixes and Linux distributions: it is simply adding an entry in the default scheduler of your platform.
To schedule the backup of the default profile, simply type the command:
resticprofile scheduleNow your backup will run every day at 12:30. As simple as that!
Inline help
You can get help for any command at any time.
The help is available for both the resticprofile internal commands and all the restic commands.
resticprofile help
To get the help on a resticprofile command, simply use the help command or command -h:
Example:
$ resticprofile help generate

The "generate" command is used to create various resources and print them to stdout

Usage:
  resticprofile [resticprofile flags] generate [command specific flags]

Flags:
  --bash-completion                               generate a shell completion script for bash
  --config-reference [--version 0.15] [template]  generate a config file reference from a go template (defaults to the built-in markdown template when omitted)
  --json-schema [--version 0.15] [v1|v2]          generate a JSON schema that validates resticprofile configuration files in YAML or JSON format
  --random-key [size]                             generate a cryptographically secure random key to use as a restic keyfile (size defaults to 1024 when omitted)
  --zsh-completion                                generate a shell completion script for zsh
  --fish-completion                               generate a shell completion script for fish
restic help
This is the same syntax to display the help from a restic command:
$ resticprofile init -h

The "init" command initializes a new repository.

EXIT STATUS
===========

Exit status is 0 if the command was successful, and non-zero if there was any error.

Usage:
  resticprofile [resticprofile flags] [profile name.]init [flags]

Flags:
[...]
Next
Let’s have a look at some examples